Using PowerShell in Visual Studio Code on MacOS
If you day to day life revolves around MacOS and Visual Studio Code but the rest of your team is working on Windows, you might see that many of them are using PowerShell.
You don’t have to be the odd-person-out, and besides that, PowerShell is an amazing shell in general, providing a scripting environment that is very hard to beat by other shells.
So, a few things to do:
Install PowerShell
Navigate to https://github.com/PowerShell/PowerShell/blob/master/docs/installation/macos.md and follow the instructions. It’s pretty straightforward.
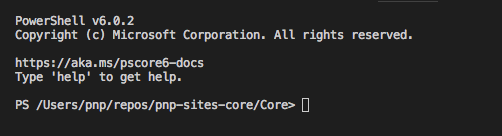
Make sure that PowerShell works by launching a terminal and enter pwsh. If all goes okay you should see something alike.
PowerShell 6.0.2
Copyright (c) Microsoft Corporation. All rights reserved.

https://aka.ms/pscore6-docs
Type 'help' to get help.

PS /Users/pnp>
Install Visual Studio Code
Of course, if you have Visual Studio Code installed already you can skip this step.
Again, a few simple steps (https://code.visualstudio.com/docs/setup/mac):
- Download Visual Studio Code for Mac.
- Double-click on the downloaded archive to expand the contents.
- Drag Visual Studio Code.app to the Applications folder, making it available in the Launchpad.
- Add VS Code to your Dock by right-clicking on the icon and choosing Options, Keep in Dock.
##Configure the terminal in Visual Studio Code Open Visual Studio Code, and modify the settings (⌘,) In the right pane (the user settings), add the following two lines:
{
    "terminal.integrated.shell.osx": "/usr/local/bin/pwsh",
    "terminal.integrated.shellArgs.osx": []
}
Save your settings.
Done!
Now if you open the integrated terminal in MacOS you will be greeted by a friendly PowerShell prompt.